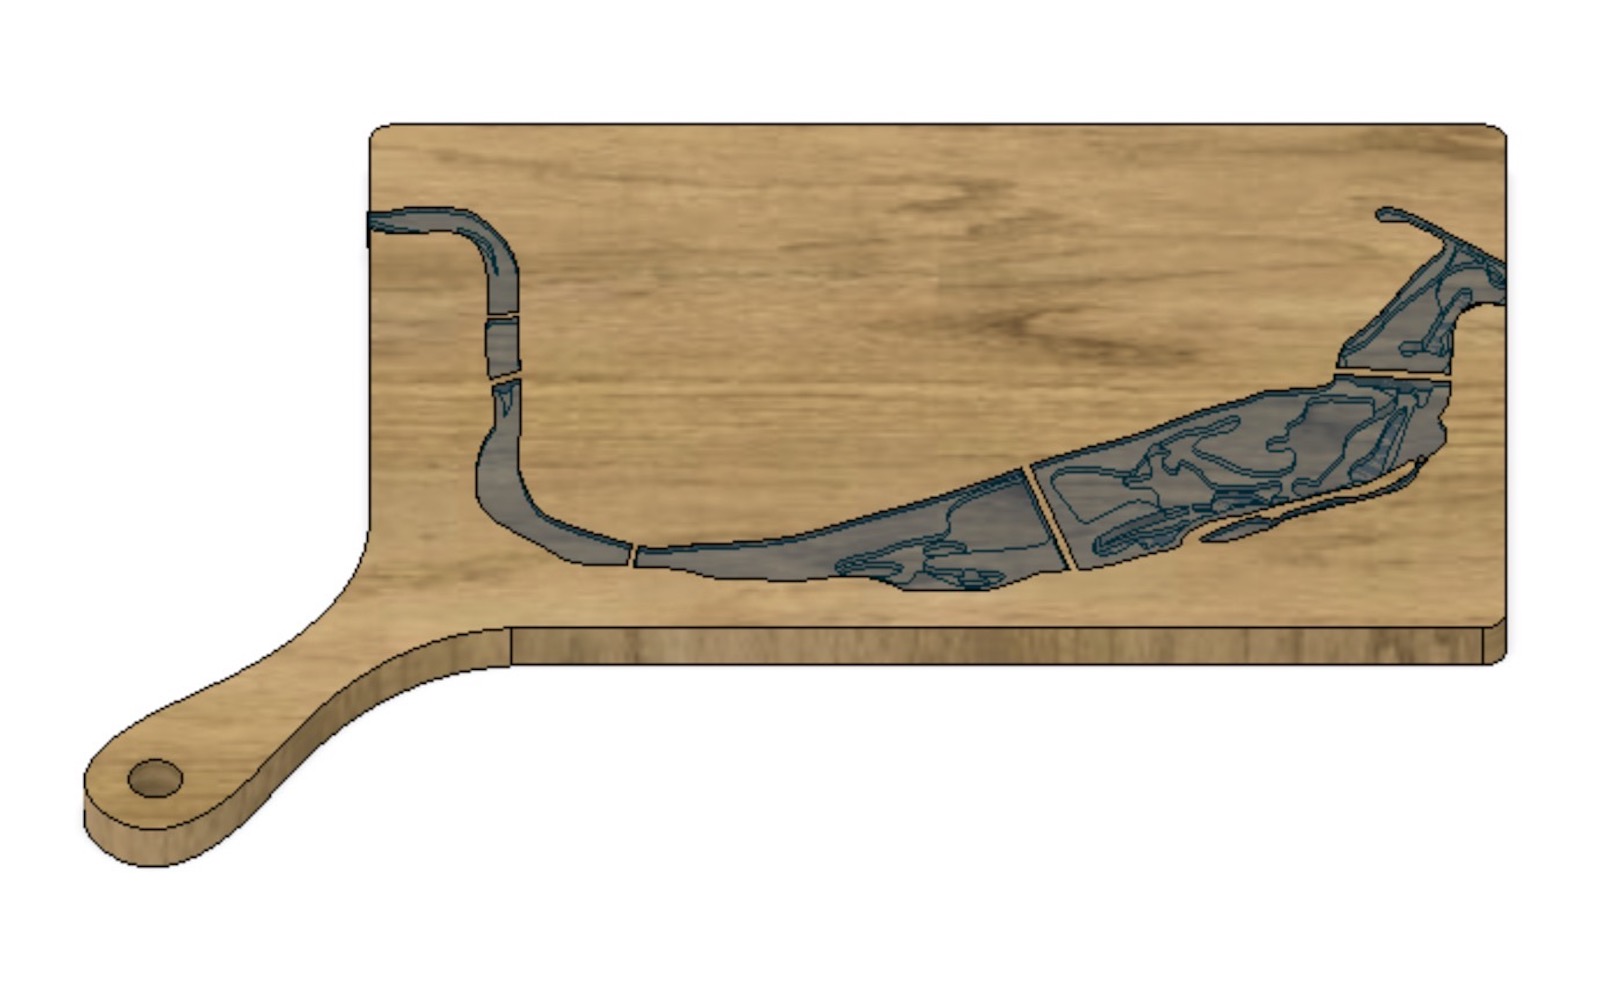
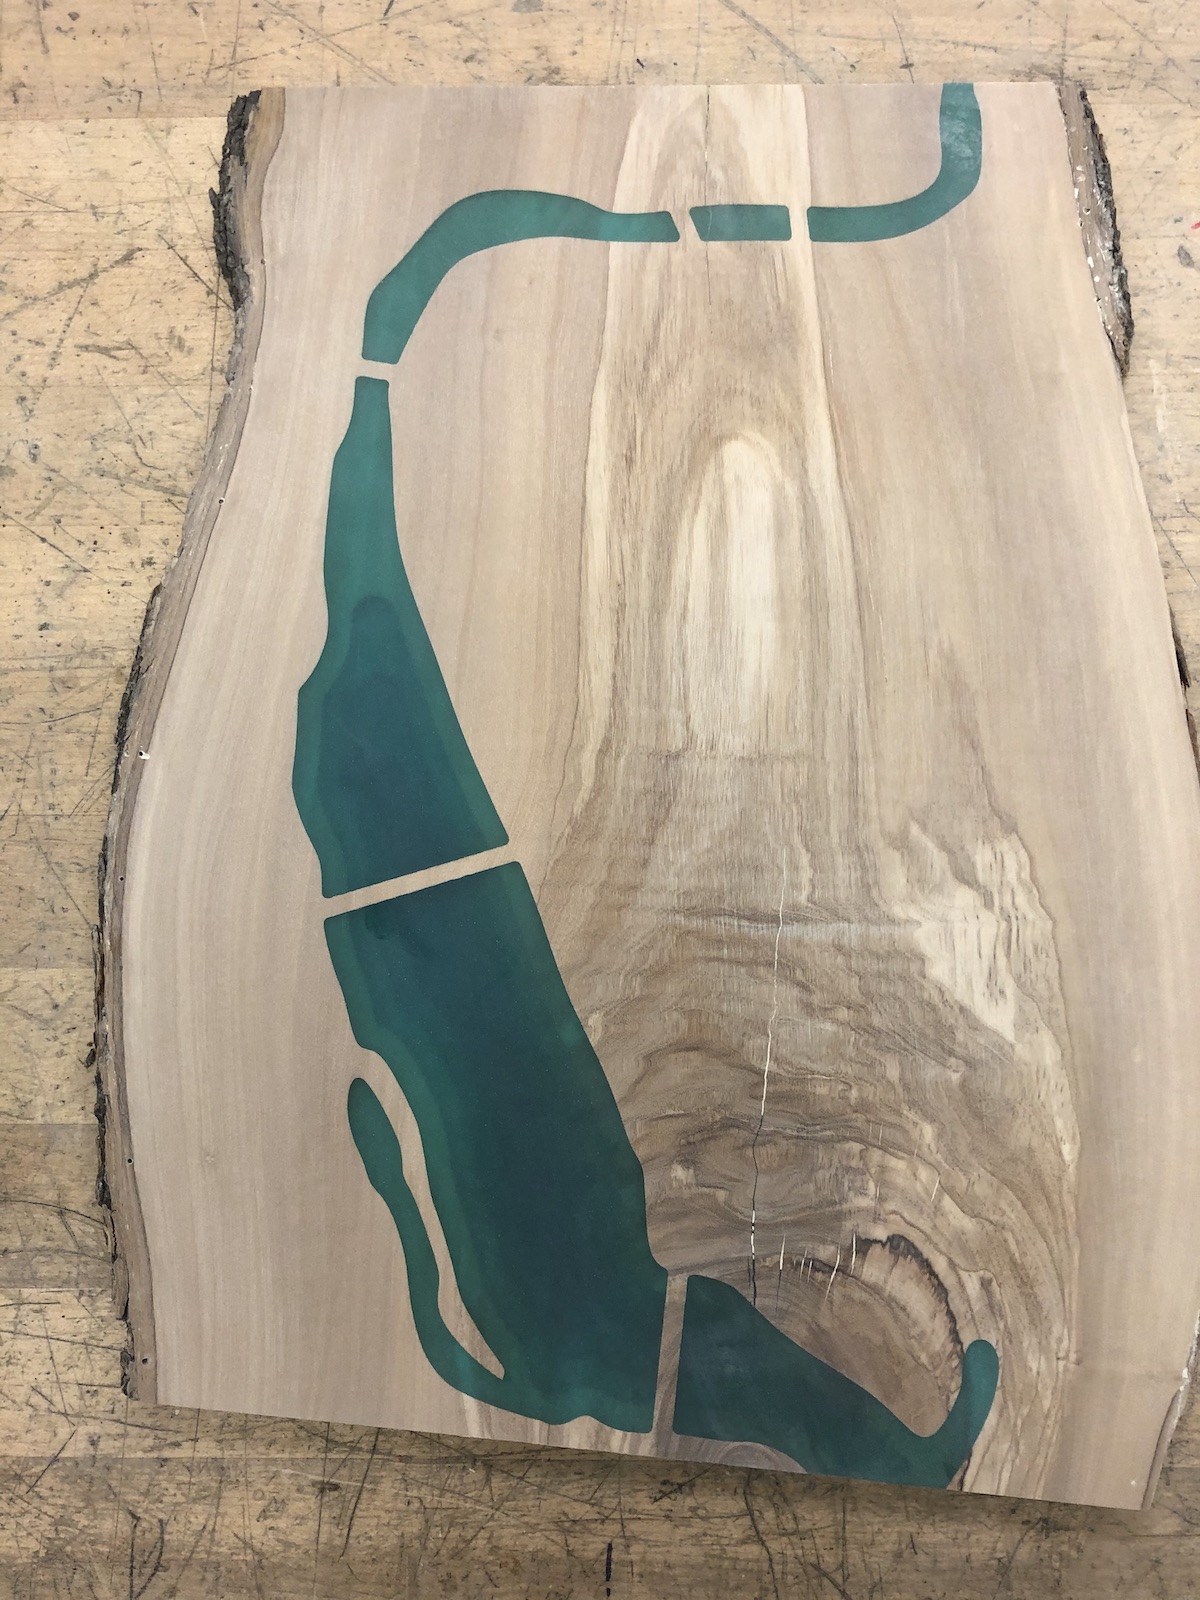
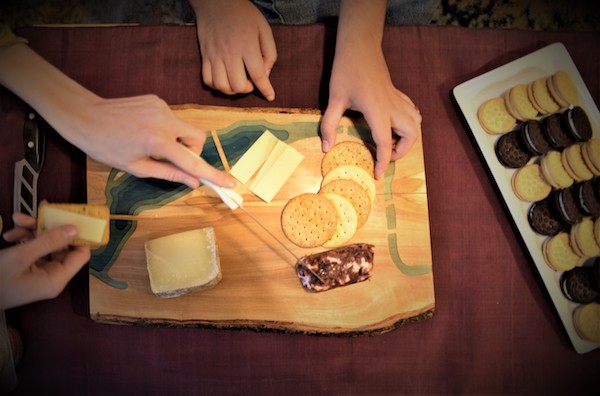
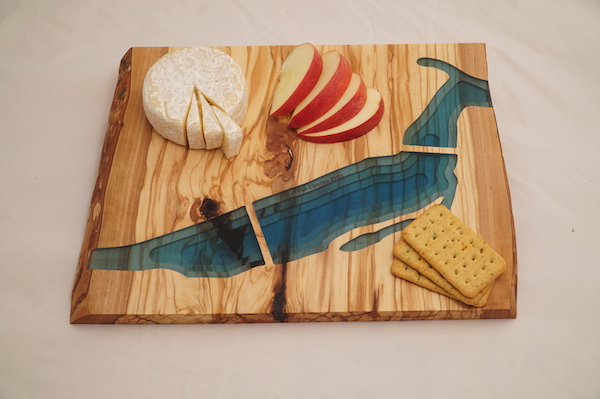
Kitchen Canvas

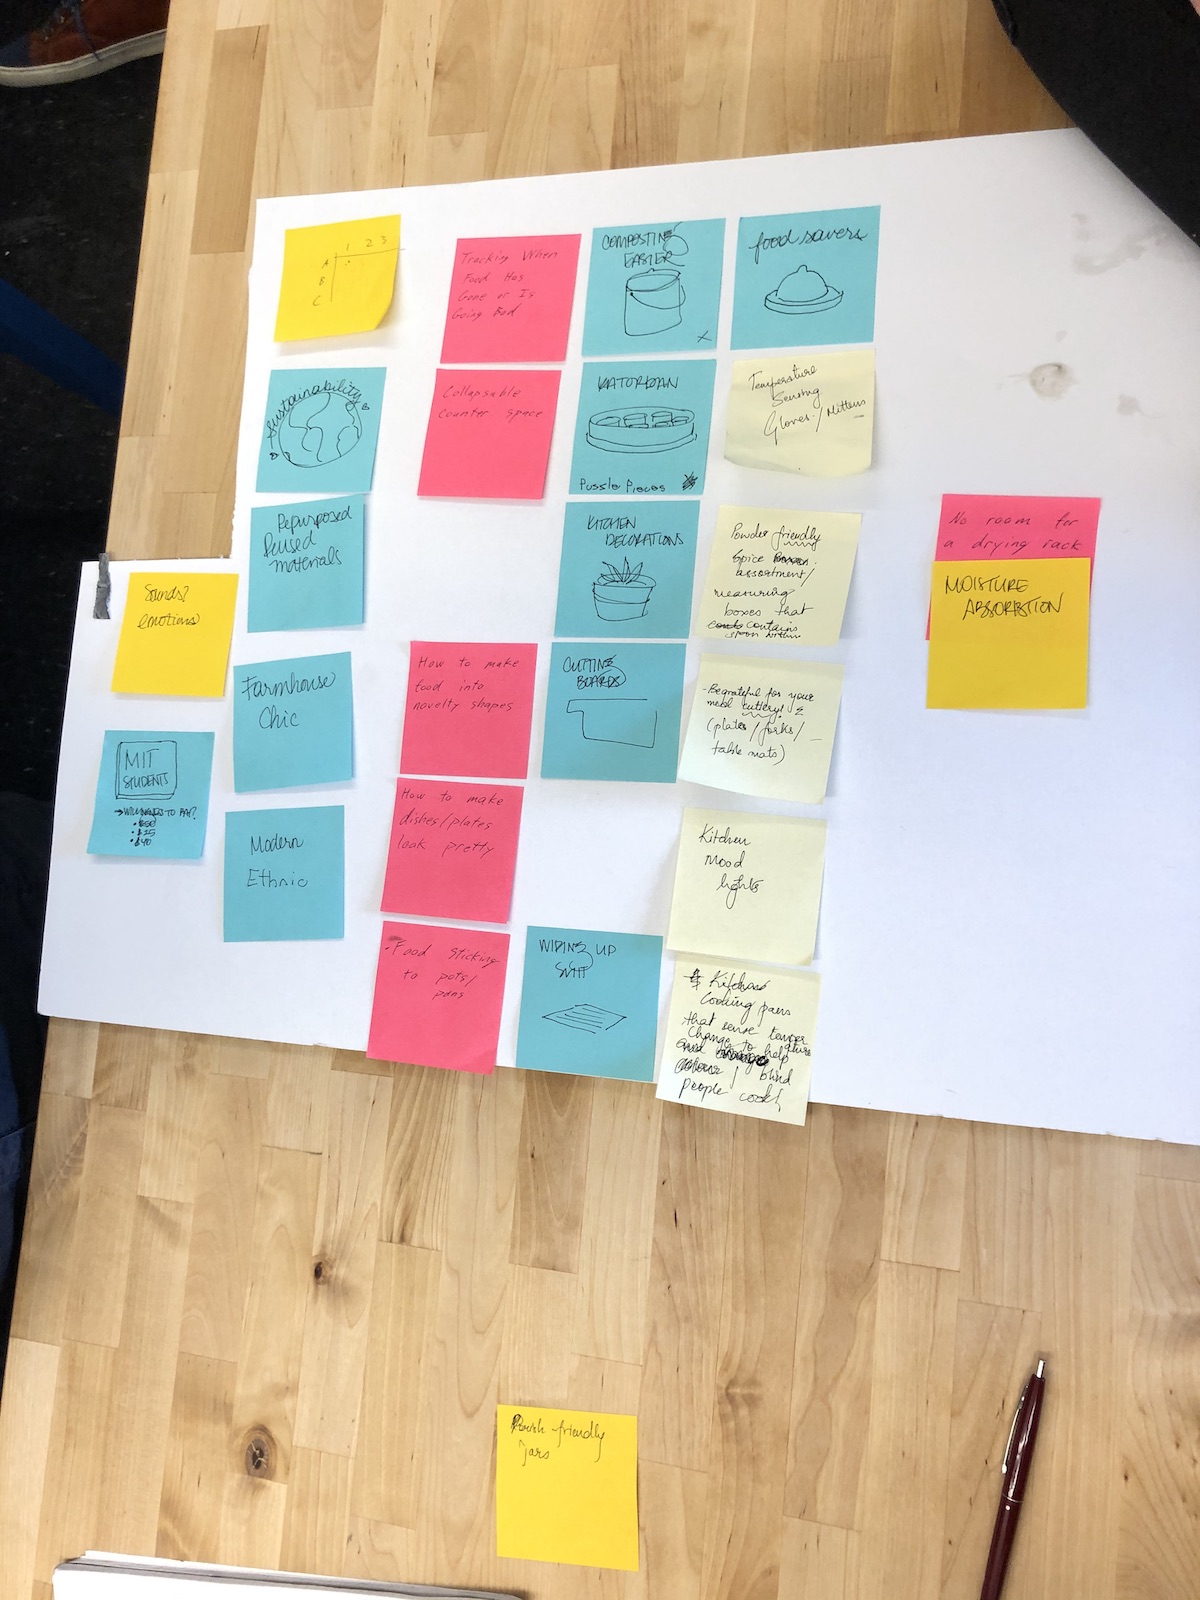
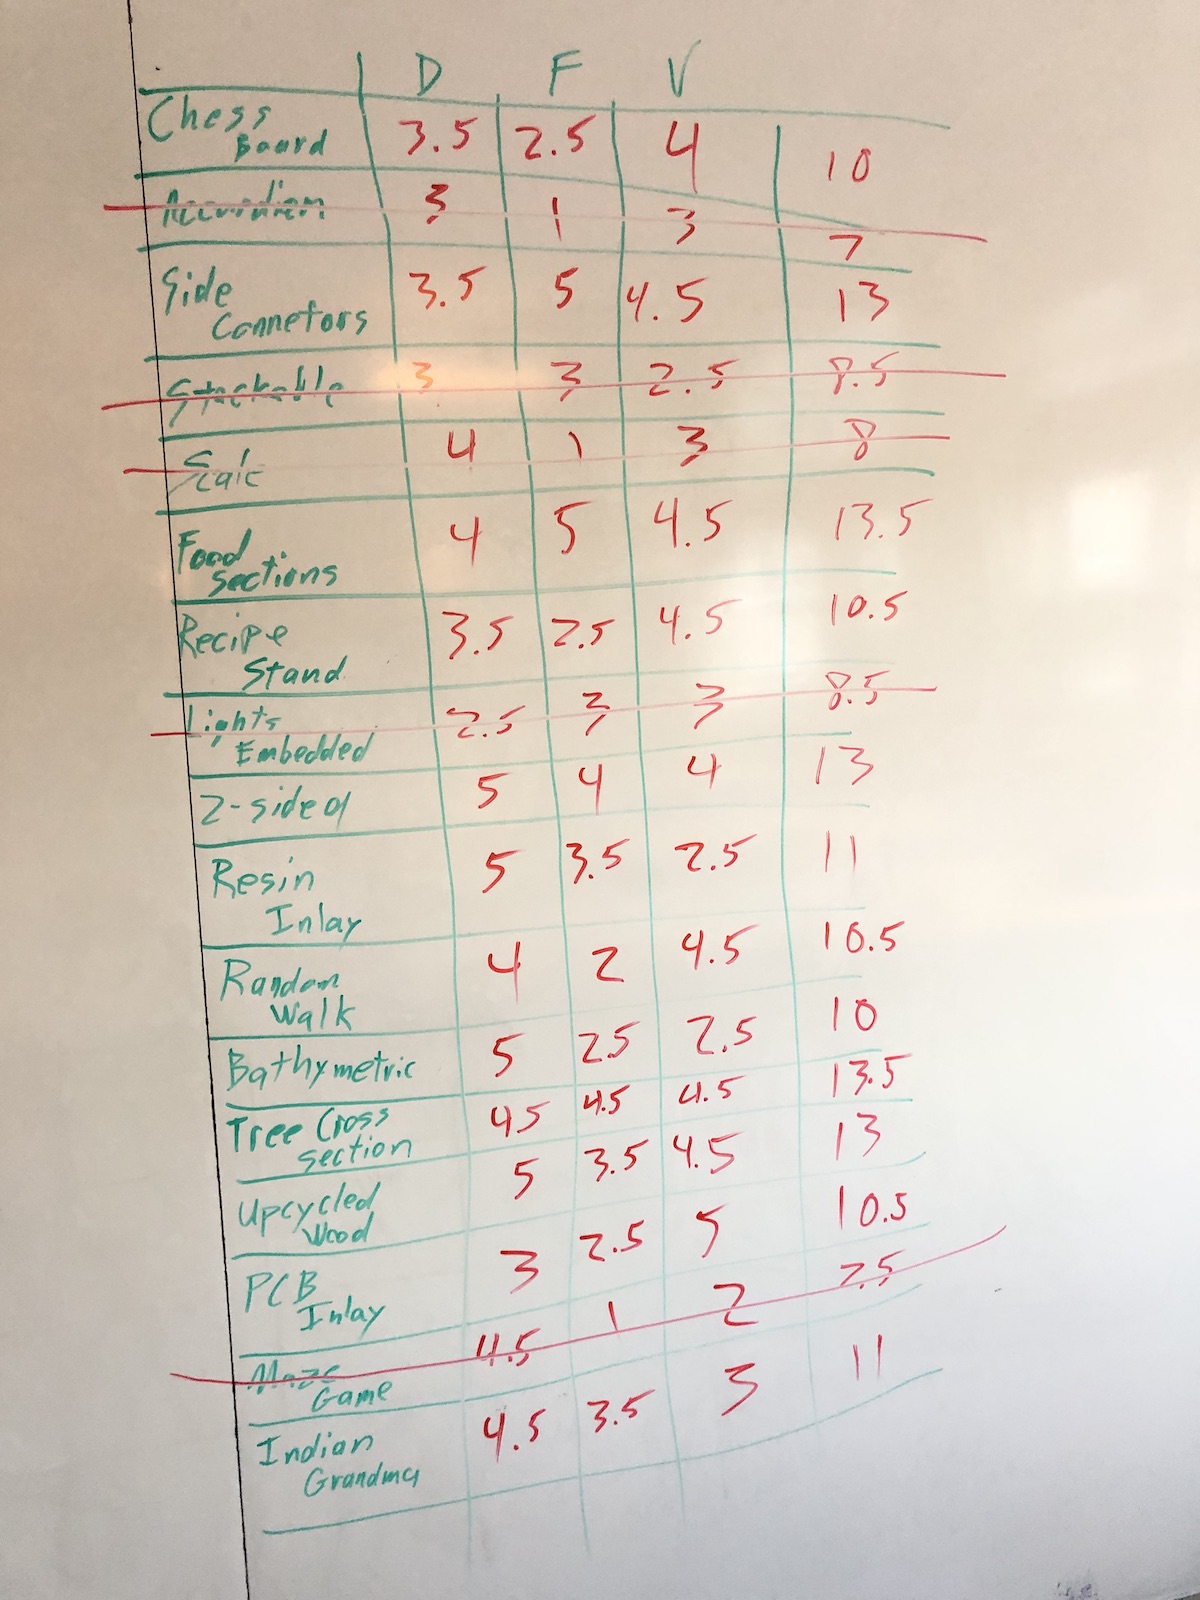
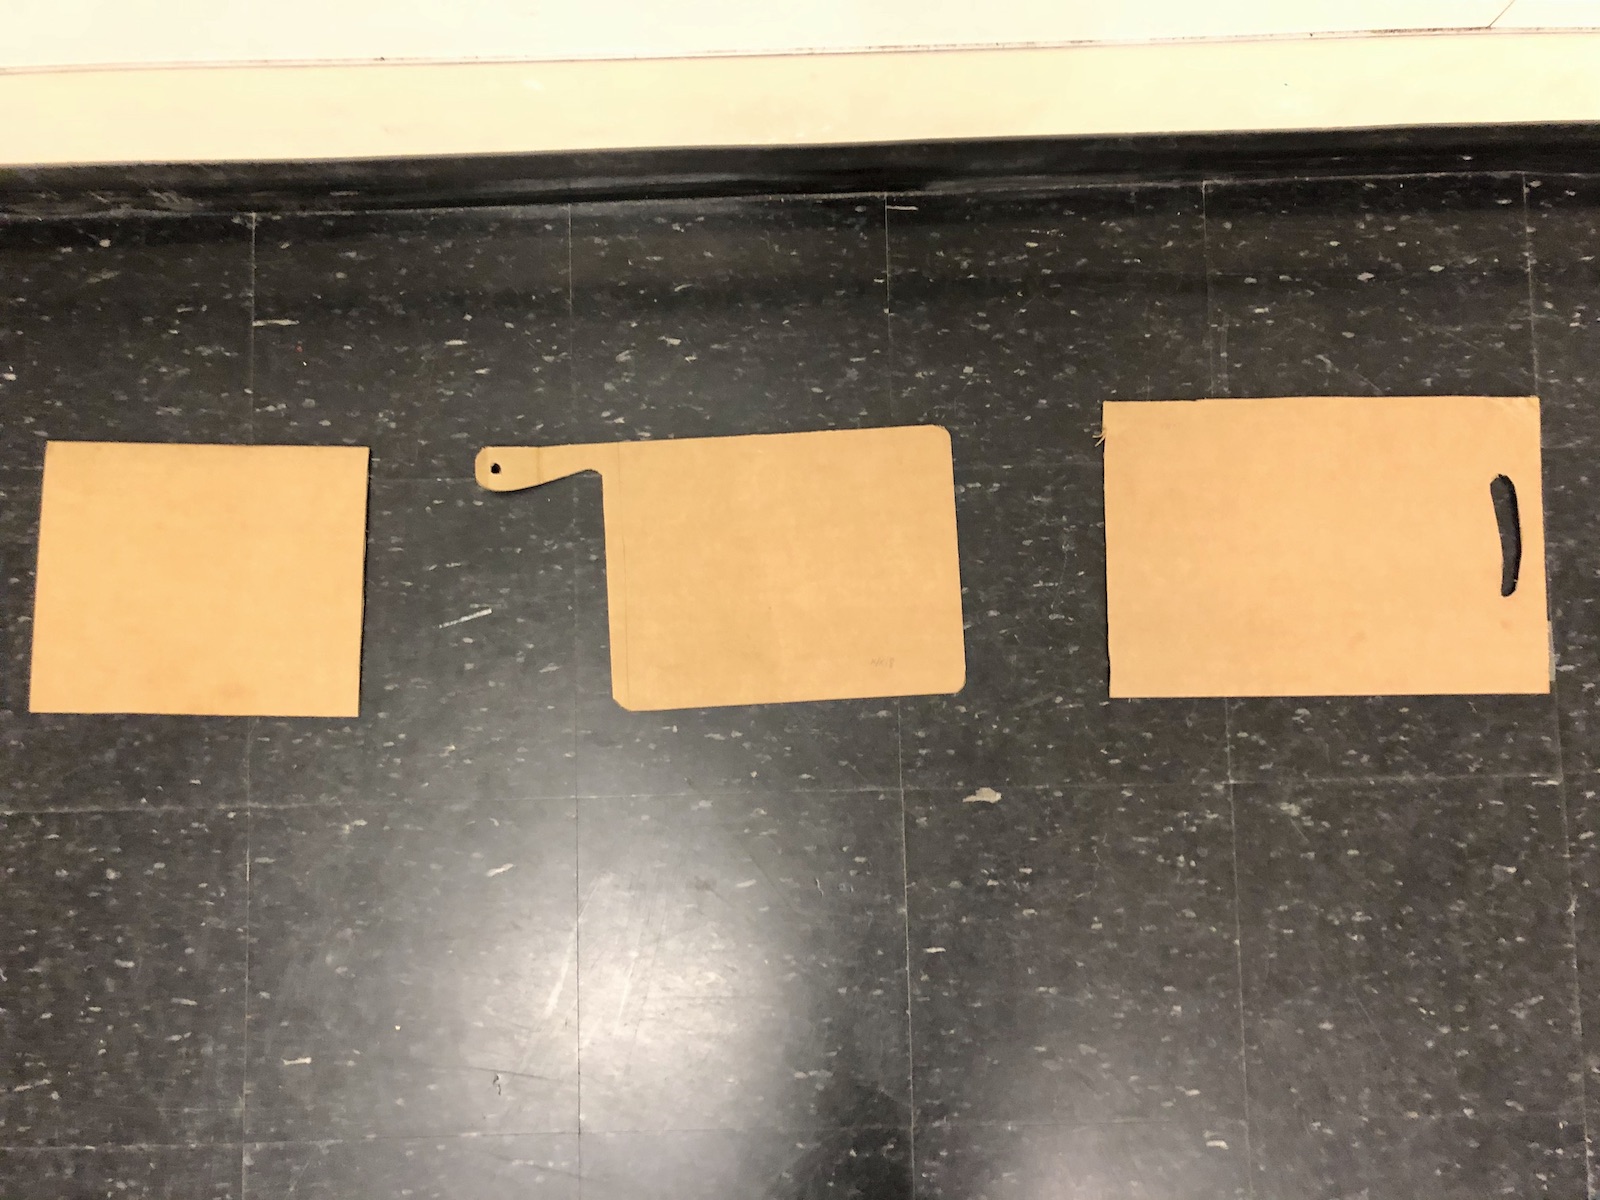
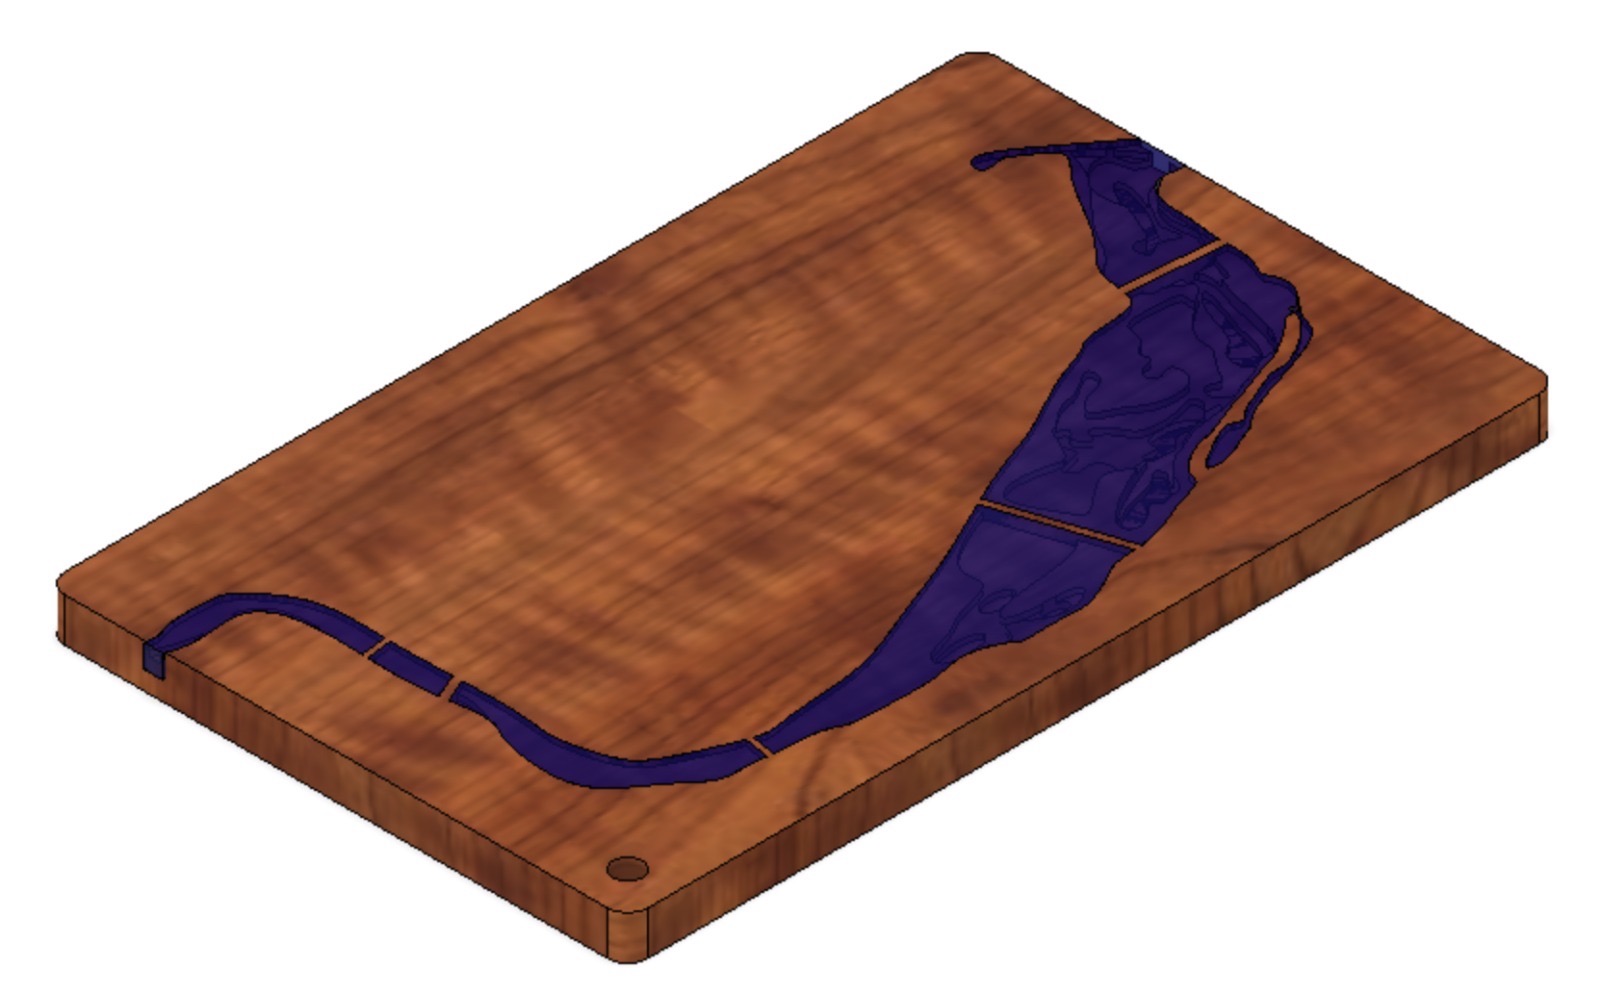
Kitchen Canvas is a product that I designed along with two other students in the Integrated Design & Management program at MIT. The assignment was to design a kitchen product that we would need to subsequently manufacture and sell 50 units of, all within a seven week time frame. The project culminated in a sales gala on Dec 11th at MIT Sloan where we sold out the remaining units of our product.

  • Product Design
  • MITidm
  • Woodworking
  • Kitchenware
  • Design Challenge
  • We wanted to leverage the fact that we are MIT students, and many of the people purchasing the product are MIT affiliated. To that end, we carved a bathymetric map of the Charles River, centered around the MIT campus. The carving is then inlaid with pigmented epoxy resin and polished to a high degree of shine.

  • Project Scope
  • We took this project from inception through extensive design research, several rounds of ideation and concept prototyping, product detail design, and manufacturing almost 60 units ourselves. We then sold all units as both pre-sales and in person at the IDM sales gala.
Design Process

The assignment was constrained to kitchen products, but we had the freedom to further specify within that scope. We wanted something that was highly giftable and would sell well, but at the same time didn't have a lot of moving parts and therefore wouldn't mandate a lot of work in manufacturing.

We considered working on spice storage and kitchen decorations, but ultimately decided that a cutting board or serving board would give the most opportunity for creative expression while keeping the complexity down.

Even though this was more of a "design driven" project, we still wanted to make sure that we were solving user needs appropriately and building something that people wanted. Therefore we went through a user research and observation phase where we catalogued preferences as to handle style, size, portability, storage, etc.

Once we knew generally what people wanted, we began the process of ideating product concepts that we thought would be attractive and feasible to build. We created a series of 2D visual prototypes of the best concepts in order to communicate our ideas with users and advisors.

In order to feel confidence that we were on the right track, we went through several rounds of feedback with our users. Users generally pushed us to focus more on aesthetic and less on functionality, which informed where we ended up.

We ended up choosing live edge olive wood as our material. The live edge aesthetic tested well with our early users, and so we used that as a constraint when choosing which wood to source. Olive wood is an incredibly beautiful wood with lots of figuring and color contrast between the heartwood and sapwood.

Olive wood is very expensive and very difficult to work with. It's hard, oily, and prone to lots of cracking that we had to fill in with resin on a case-by-case basis. Even though we chose a design with a very short bill of materials, we still ended up with a fair amount of variation due to the material choice and live edge form factor.

The manufacturing process was as follows:

  • Cut the raw 6-8 foot boards into a series of cutting board lengths (8-16 inches), optimizing for minimal wasted material.
  • Plane both sides of the boards to prepare for the router.
  • Fix a cutting board blank to the CNC router bed, zero out the axes, and run the Charles river routing program.
  • Mix translucent blue-green slow set food safe epoxy resin and pour into the routed pocket.
  • Let the epoxy cure for >24 hours.
  • Sand the board using a TimeSaver with 80 grid paper so that the resin is flush with the surface of the board. Sand the flakes of the live edge down so that the edges are stable and food safe.
  • Move through the following sanding grit steps: 80, 120, 220, 440, 1000, 2000, 5000, 10000. The last three are wet sanding steps and the last five are only on
  • Use plastic polishing compound and a conical felt buffing attachment to polish the resin to a shine.
  • Apply 3 coats of olive oil to finish.

After laboring hard to create 63 cutting boards, we then needed to sell at least 50 of them. We sold some through our personal networks and door-to-door at MIT, but most of our sales took place in person at the annual IDM sales gala that takes place right before the winter holiday break. We sold out! On an hourly basis we were paid very poorly, but at least we were able to pay for our flights home.

We settled on a cheese board / serving board for several reasons:
  • Because of the timing of the project and of sales gala, this product's audience is primarily gift givers. A serving board is highly giftable because you can always have one more.
  • A serving board easily serves as a platform for art. Much of the value to buyers comes from uniqueness and expression.
  • This product holds the correct combination of beauty and functionality. Its value as an aesthetic statement piece is enhanced by its broad usability.
See the Design Review Presentation
  • Target UserSloan Students buying gifts for their parents
  • StakeholdersUsers, Gift Receivers
  • Price$65-95
  • Design TeamEthan Carlson (Engineer), Cory Ventres-Pake (Business), Kritisha Jain (Designer)